
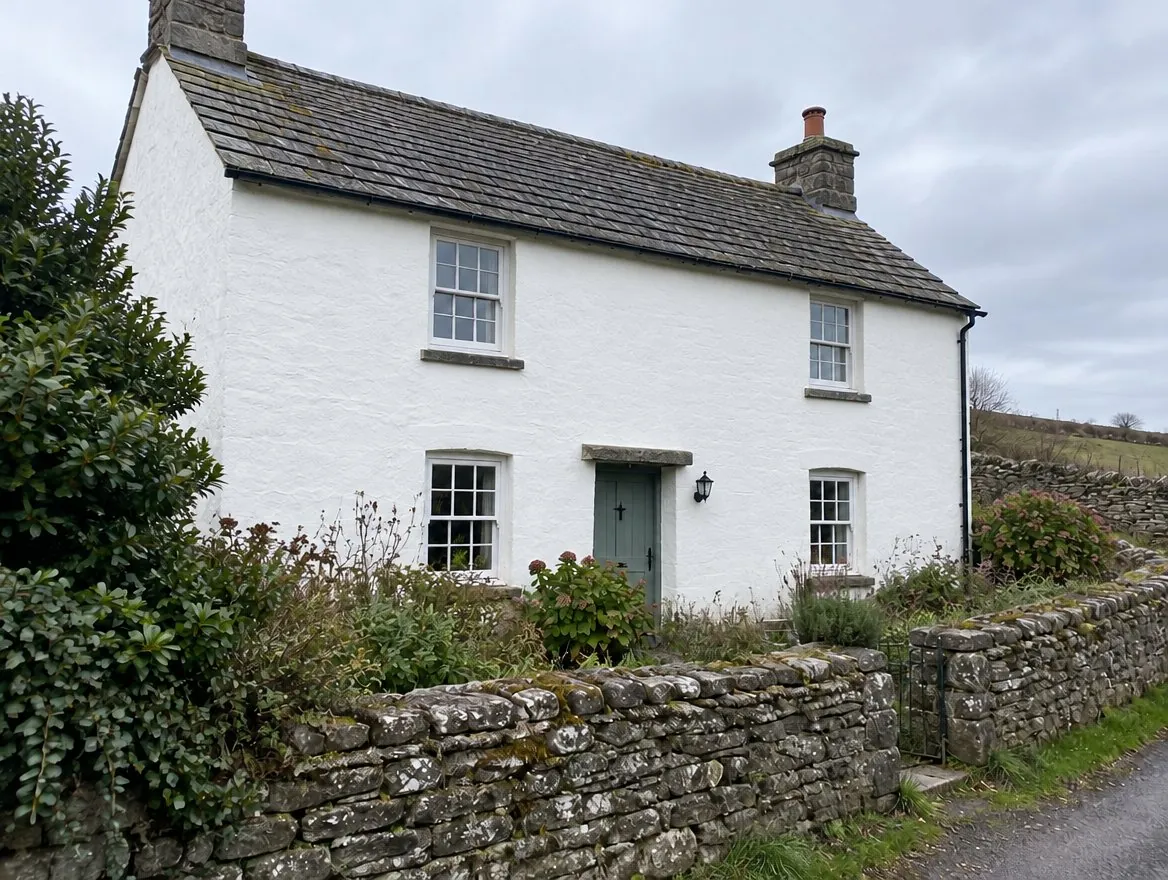
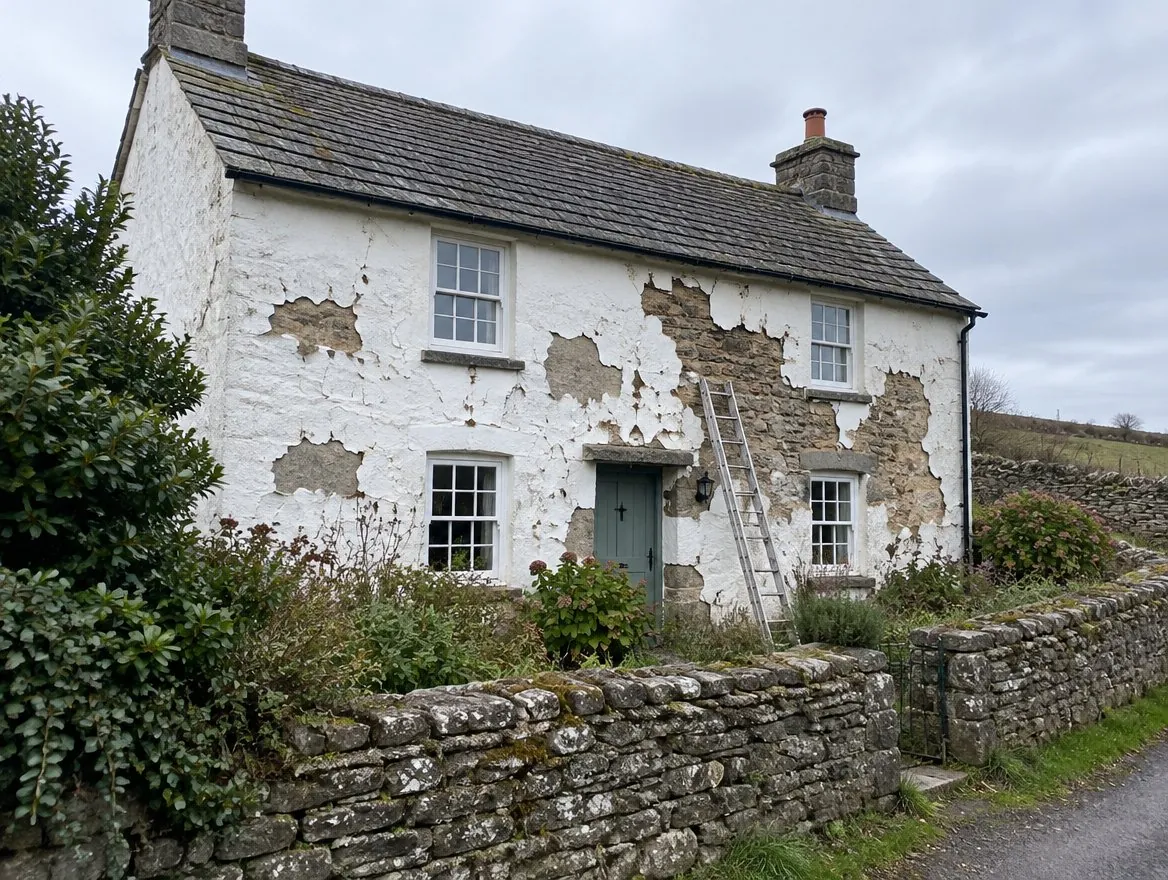
Common Render Problems
Four faults account for most of the render repair work we do across Prestatyn, LL19, and they often come together.
Cracking
Hairline cracks from shrinkage are mostly cosmetic. Wider cracks that follow a line, usually from a window corner or along a lintel, point to movement or a failed lintel behind. Map cracking across a whole wall usually means the render was too strong for the wall and is pulling itself apart.
Hollow/Blown Render
Tap the wall and listen. A hollow sound means the render has lost its bond with the wall and is held on by habit. It will come away in the next frost, taking water in behind it until it does.
Damp and Staining
Green staining below gutters and sills, dark patches that never dry, and salts coming through the paint all mean water is getting into or behind the render, often from a roofline or lead detail above.
Impact Damage
Vehicles, ladders, wheelie bins and footballs knock corners and chunks off render. Small and easy to patch while it's small.
Render problems are often caused by something else: an overflowing gutter, a failed chimney, or water tracking behind a cracked sill. We fix the cause, then the render, and finish with masonry paint if needed. Where brick is exposed underneath we can repoint it at the same time.
Repair Options
Not every failed wall needs re-rendering. Three routes, in order of cost.
Crack Repair
Cracks are opened, cleaned and filled with a flexible repair mortar or a resin system suited to the render type, then blended into the surface. We fix the cause first if it's movement or a lintel.
Patch Repairs
Blown and damaged areas are cut back to sound render, the wall behind checked and repaired, and new render applied in two coats and finished to match the texture around it. On a painted wall the patch disappears under the next coat of paint.
Full Re-Rendering
When more than a third of a wall is blown, or the render is the wrong type for the wall, we strip it, repair the substrate and re-render in a system that suits the house, with new beads, bellcast and sill details so the new render sheds water properly.
Render Types
Three render types cover the houses of Prestatyn, and matching the right one to the wall is the difference between a repair that lasts and one that fails.
Traditional Sand/Cement Render
The standard on post-1930s brick and block houses across Prestatyn, LL19. Strong and economical, applied in two coats with a scratch coat and a float or roughcast finish, and painted.
Through-Coloured Render
Modern silicone and acrylic renders with the colour mixed in, applied thin over a basecoat and mesh. Never need painting, flex with the building, and shed dirt and water. The best choice for a full re-render on a modern house.
Lime Render
The original render on the older stone and cob houses of Prestatyn. Soft, breathable and self-healing, it lets the wall dry out. Repairing a lime-rendered wall with cement is the commonest and most damaging mistake we see.
When to Use Lime Render
If the house was built before about 1920, with stone, cob or soft brick walls and no cavity, it was almost certainly rendered in lime and it needs lime again. Cement render on these walls traps moisture inside, which comes out through the stone as damp and salts, blows the render off in the frost and, in cob, can cause real structural harm. We use lime putty and hydraulic lime renders on older properties across Prestatyn, LL19, matched to the original mix and finish, and we're used to working with conservation officers where a building is listed. If you're not sure what your house was built with, we'll tell you after a look.